Chapter 2: Pages and Navigation
Quick Steps
- Go to the Pages section.
- Click Add New to create a page.
- Drag and drop pages in the tree to reorder them.
- Uncheck "Show in menus" in the Settings tab to hide a page.
- Manage Utility Links and Footer Navigation in Branding & Layout.
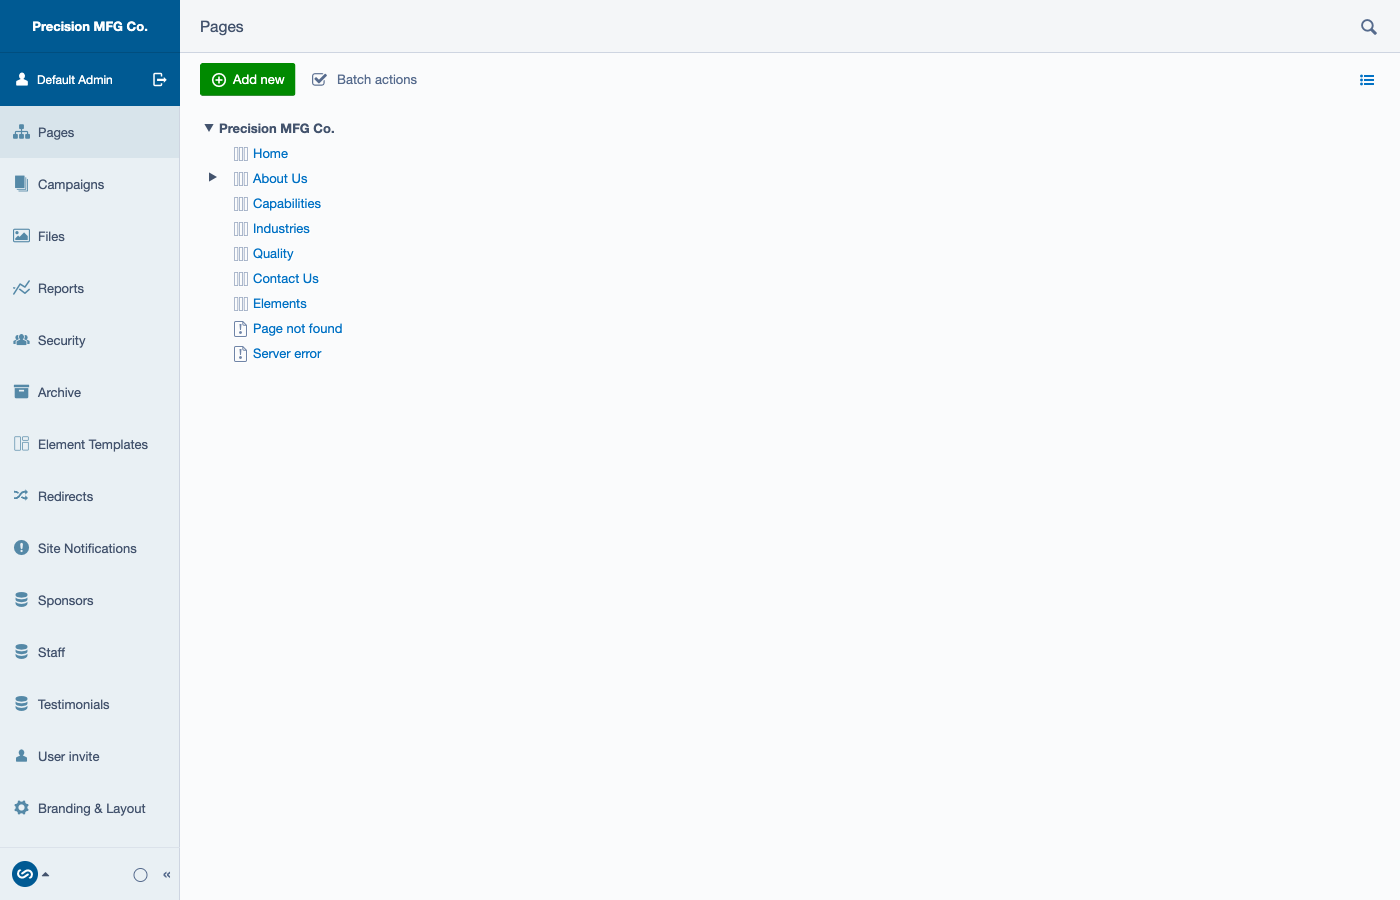
The Site Tree
The "Pages" section displays your website's structure as a hierarchical tree. - Top-level pages: These usually appear in your main navigation menu. - Child pages: Pages nested under others (e.g., "Services" -> "Consulting").
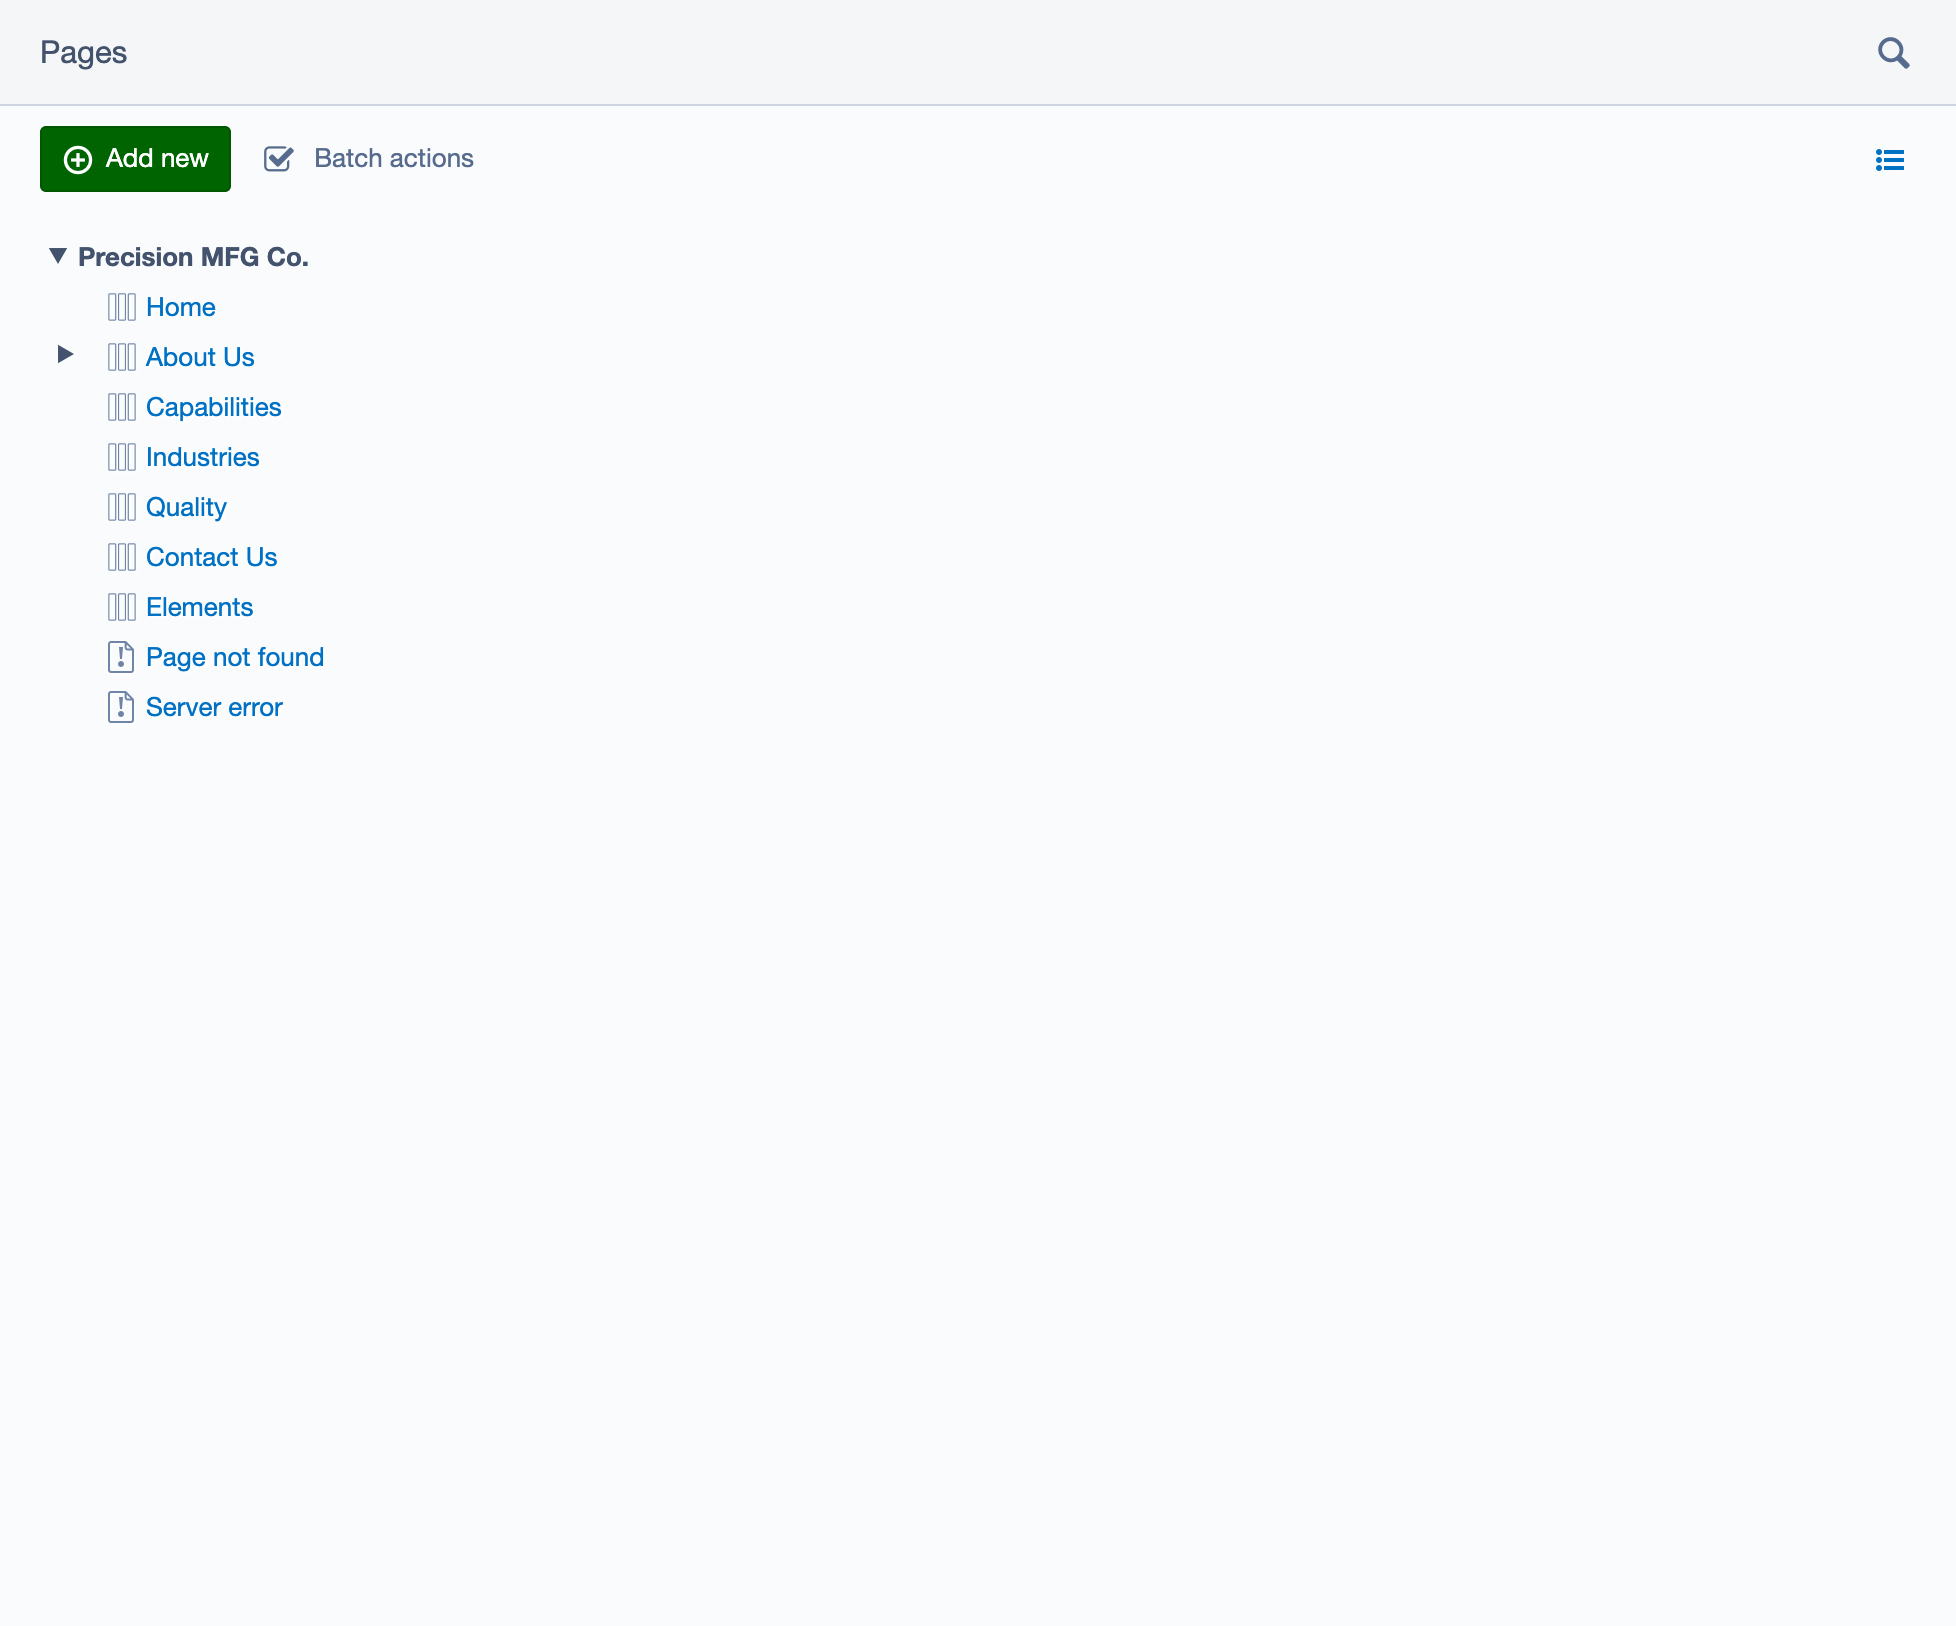
Screenshot: The site tree (left) is where you organize your pages and navigation structure.
Creating a New Page
- Click the Add New button in the top-left of the Pages pane.
- Select a Page Type (usually "Page" or a specific type like "Contact Page").
- Choose the Parent Page (where the new page should live).
- Click Create.
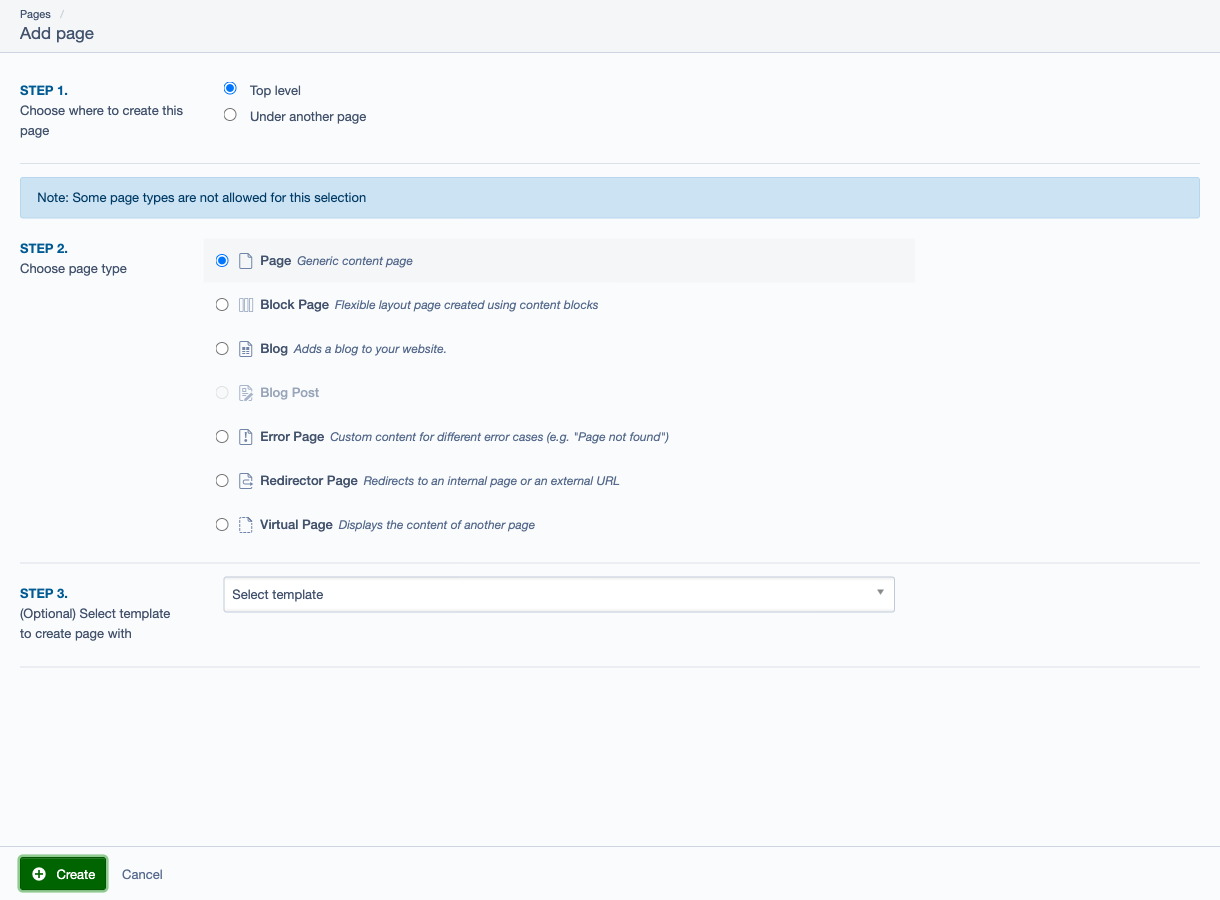
Screenshot: Creating a page is a short wizard: location, page type, and (optionally) a template.
Reordering Pages
To change the order of pages in your menu: 1. Click and hold the drag handle (the dots icon) to the left of the page name in the tree. 2. Drag the page to its new position. 3. Release to drop it. - Note: You can drag a page onto another page to make it a child of that page.
Screenshot: Drag-and-drop in the site tree. If you see “Modified” labels afterward, publish to apply changes to the live site.
Hiding Pages from Navigation
You might want a page to be accessible via a link but not visible in the main menu. 1. Click on the page name to edit it. 2. Click the Settings tab (top right of the editing pane). 3. Uncheck the Show in menus? box. 4. Click Save or Publish.

Screenshot: Turn off “Show in menus?” to keep a page accessible without listing it in your main navigation.
Managing Utility Links and Footer Navigation (Branding & Layout)
Some navigation items are not controlled by the site tree. Instead, they live under Branding & Layout (left-hand menu).
Utility Links (Header)
Utility links are small links in the header area (often top-right), such as “Request a Quote”.
- Go to Branding & Layout.
- Open the Header tab.
- In Utility Links, click Add link.
- Choose a destination (usually “Page on this site”) and save.

Screenshot: Utility Links are managed outside the site tree.
Footer Navigation (Columns)
Footer navigation is organized into columns (for example: Company / Services / Resources). Each column can contain groups of links.
- Go to Branding & Layout.
- Open the Footer tab.
- Open the Navigation sub-tab.
- Click Add Column, name it, then add groups/links within that column.

Screenshot: Footer navigation is managed as columns (with groups/links) and is separate from the page tree.
Deleting and Archiving
- Unpublish: Removes the page from the live site but keeps it in the CMS as a draft.
- Archive: Removes the page from the site tree entirely. You can restore archived pages later if needed.